


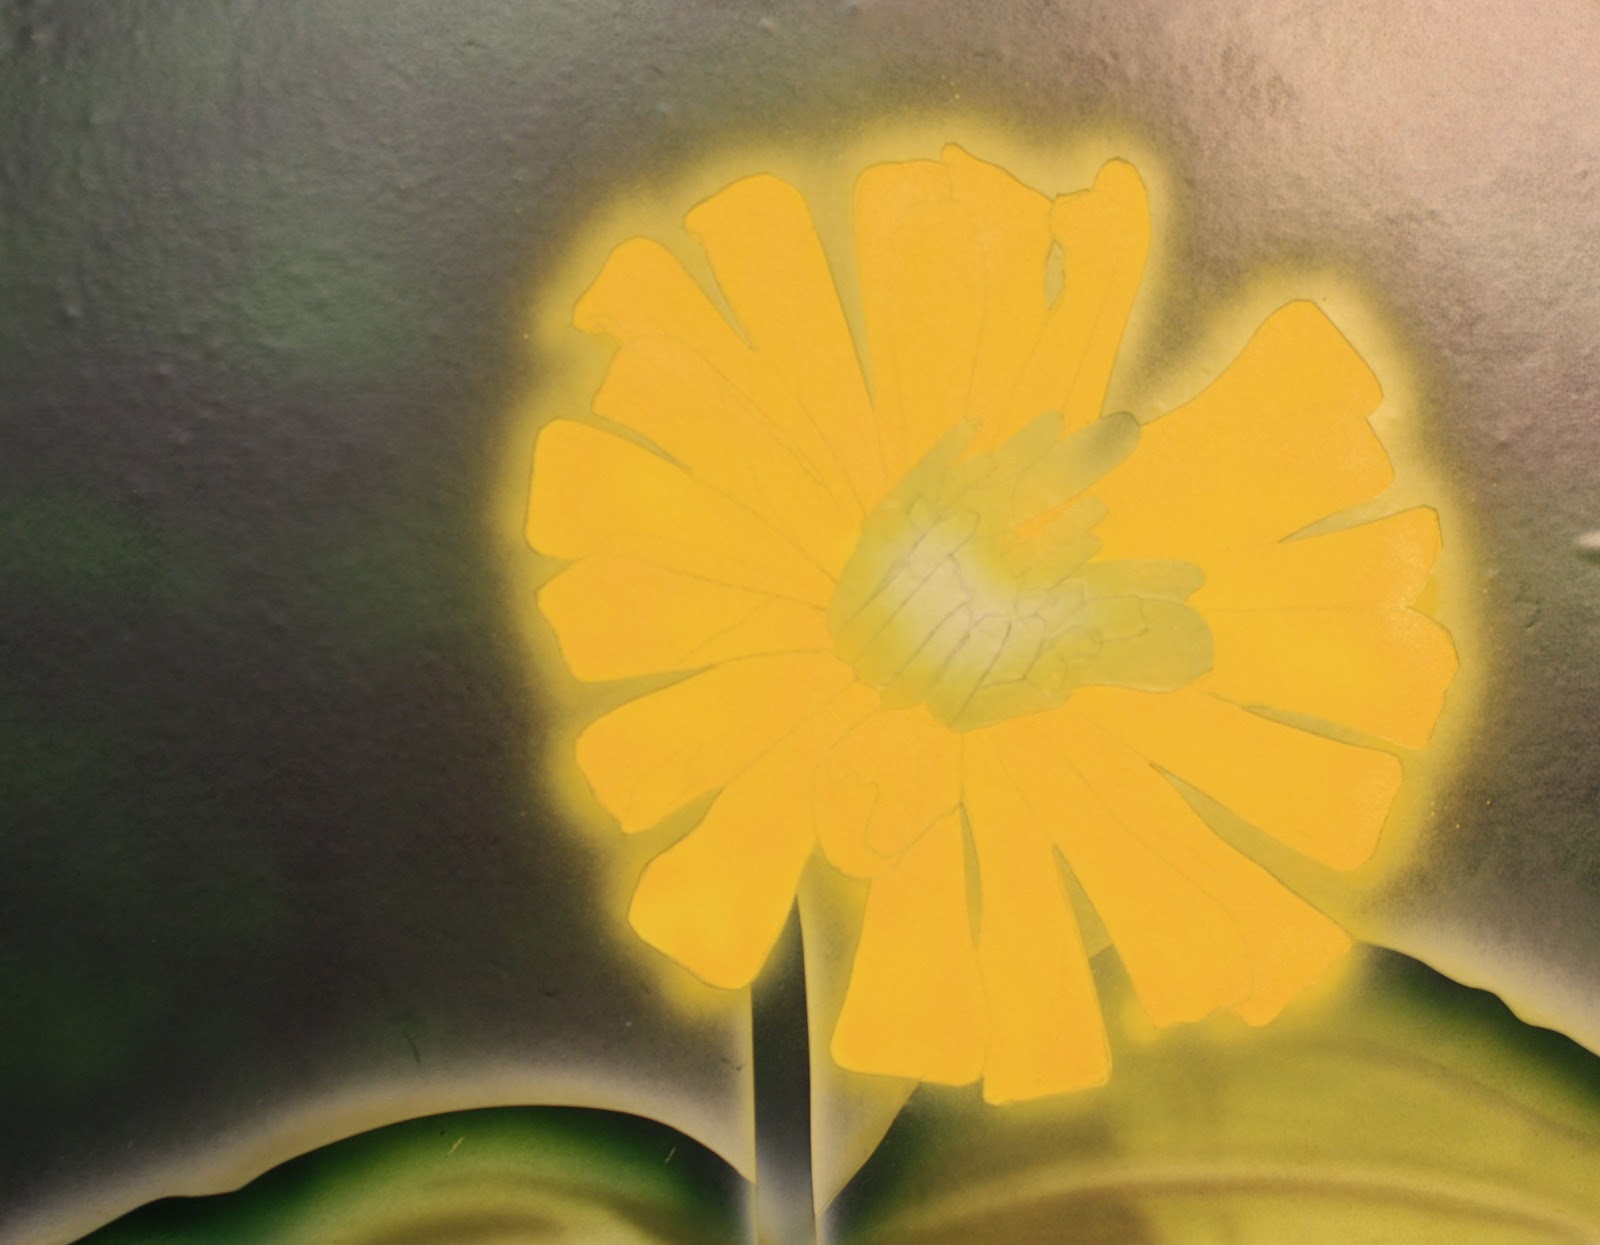


2) The frisket film is removed from the background and the area is sprayed using three different greens. The process is done working light to dark. 3) The background is recovered with the frisket that was removed earlier. The frisket is now removed from the leaves and the light greens are applied. The leaves are then covered and the stem is painted. 4) The frisket is again removed and the leaves are darkened slightly. The leaves are recovered. 5) All of the frisket is removed from the petals and the first light yellow color is applied. 6) The petals are again covered in frisket and every other petal frisket piece is removed. The remaining colors are applied to the uncovered petals. These petals are now recovered with frisket and the other petals are painted. 7) Now all of the petals are again covered with frisket and the inner flower frisket is removed. These are painted individually much like the petals were painted previously. Some of the frisket remains while other parts are painted to allow for a three dimensional appearance. 8,9,) In the following steps slight alterations are completed to give a more realistic appearance. Details are added using a small conventional brush. 10) A darker red is used to finish the painting. 11) The completed artwork.
No comments:
Post a Comment